Pinterest

Follow Me on Pinterest

Tuesday, July 30, 2013

Homemade Taco Seasoning and Taco Cupcakes

This summer I've lived out my fantasy of being a stay at home (grand) mom.  I didn't teach any summer classes this year so I've been technically off work since May. While I have been doing some great consulting work and prepping for fall classes, much of these last several months has been child focused. Most weeks I've had at least one (or three) grandkids staying with me. I've really loved the time with all of them.  Here's some of our bunch. Aren't they great?!


One of the most exhausting things about having kids around is the amount (and times) they eat! Seriously, it feels like they just get done with breakfast and are ready to eat lunch! I love to cook but really hate having to think about food constantly. I like to make things that can serve as more than one meal (and with as little serving effort on my part). Fortunately they are all pretty good eaters and are open to trying different things. Hence, taco cupcakes were born! Another Super Simple recipe!


I never seem to have the packaged taco seasoning on hand when I want it so I decided to make my own. It is Super Simple and I had all the ingredients in the cupboard. The following is the recipe for one batch, however, I quadrupled it so I would have some on hand for a later time.
 
Homemade Taco Seasoning (One batch)
 
1 Tbsp chili powder
1/2 tsp garlic powder
1/2 tsp onion powder
1/4 tsp crushed red pepper flakes
1/2 tsp dried oregano
1/2 tsp paprika
1.5 tsp ground cumin
1/2 tsp sea salt (or regular salt works too)
1/2 tsp black pepper
 
Mix this all together. Brown one pound of ground beef. Add taco seasoning and 1/2 cup water. Simmer for 10 minutes or until water is evaporated. Serve.
 
See, Super Simple!!!  And I like that I either have it on hand or can easily throw it all together if it is a spur of the moment Mexican night.  Or want to make Taco Cupcakes!
 
 
Taco Cupcakes (Makes 12 in large muffin cups)
 
Preheat oven to 375
 
Burrito size tortillas
1 can of refried beans
1/2 can of diced green chilies (I would have used the entire can but thought
                      it may be too spicy for kids)
1 pound seasoned ground beef
Shredded cheese
Toppings: Diced tomatoes, lettuce, sour cream, salsa, avocado
 
1. Spray 2 large muffin pans with spray oil.
2. Cut burrito in quarters.
 
3.  Fold a quarter of the burrito into one half of the muffin cup. Press gently to fit into the cup. Repeat on the other side.


4.  Mix together the beans and green chilies. Put about 1 Tablespoon on top of the tortilla. (Approximately. It filled about 1/3 of the cup).
5. Layer with 1 Tablespoon (or so) of the seasoned beef. Fill to about 2/3 full.

6. Top with cheese.

7. Bake for 18 minutes. Check at 15 minutes to make sure the tortillas don't get too done.


8.  Add toppings of your choice.

 
9. Serve and eat up, yum!
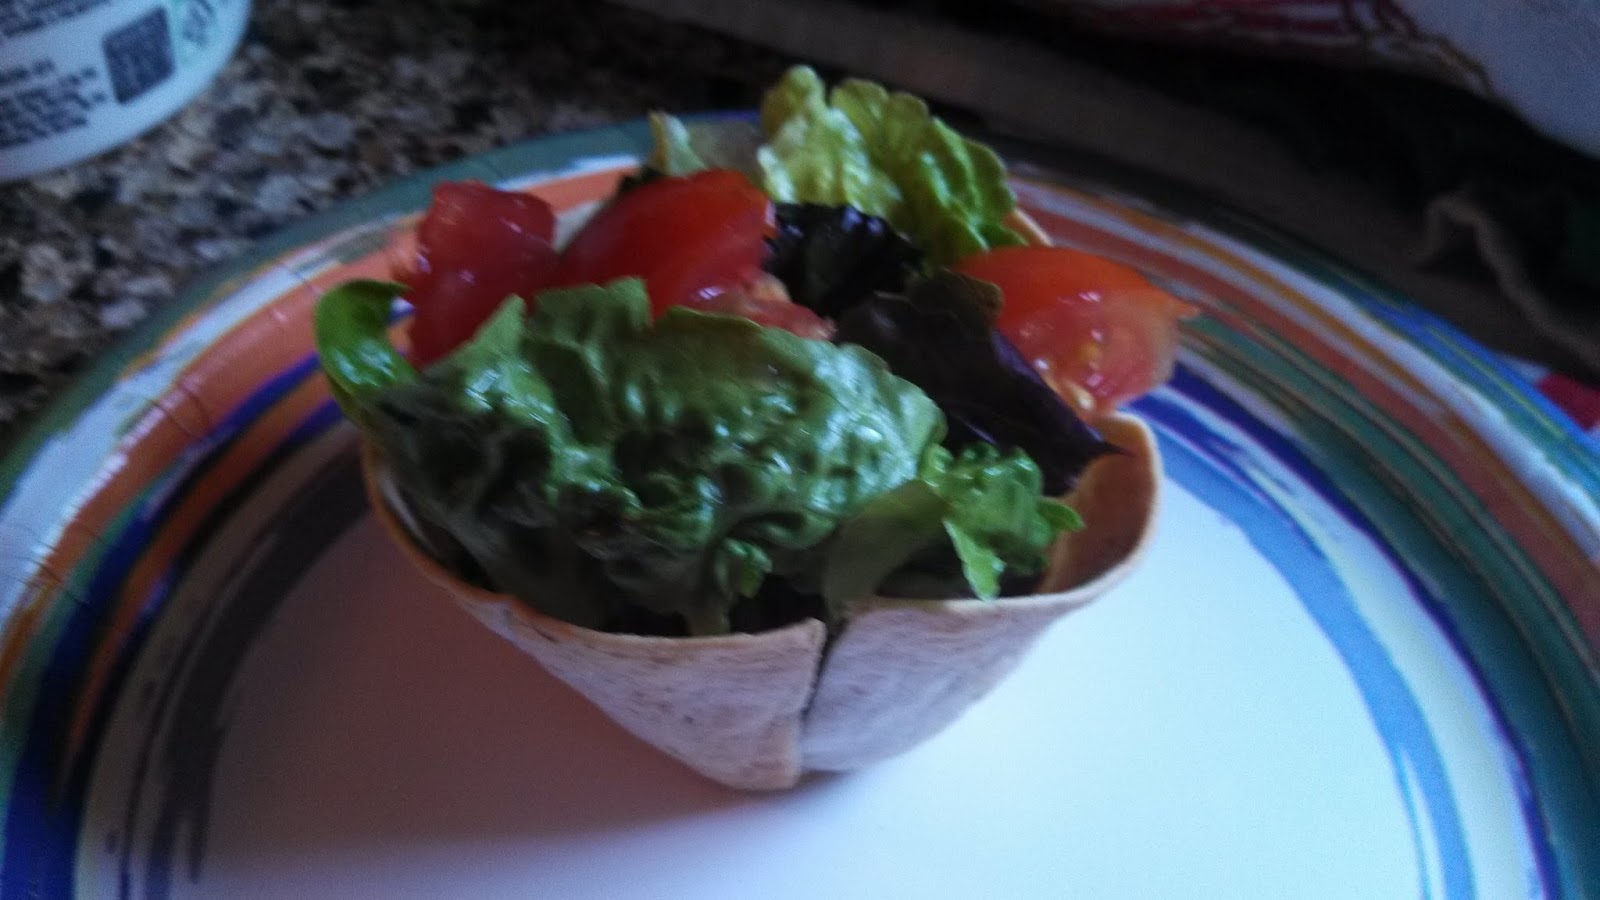
 
 
The kids loved these (as did I). I made two muffin tins thinking I would have enough left over for lunch today but they were such a big hit that there's only two left!  Next time I make them I will double the batch. I think these would freeze really well and would be nice to have on hand.


Thursday, July 18, 2013

Cucumber Salad


This year my cucumber plant is producing like crazy. Everyday there are at least 4 new cucumbers emerging. This translates to having at least two large cucumbers to eat for lunch or dinner.  One of my family favorites is cucumber salad. It is so super simple to make and tastes fantastic! Here's the recipe:

2 large cucumbers
1 medium onion
(Optional: add sliced tomatoes. I did because I had some that needed to be used).
1 cup white vinegar
1/2 cup sugar
1/2 teaspoon celery salt
salt and pepper to taste

Thinly slice the cucumbers and onion with a mandolin. (If you don't have one, you really need to get one! It makes quick work of slicing anything. Just remember to use the safety piece so you don't slice up your fingers).

Put these in a large bowl.

Mix the vinegar, sugar, celery salt, salt and pepper.  Pour this mixture over the cucumbers and onions. Toss to coat.

Refrigerate for several hours or overnight (the longer it soaks, the better).


That's it! Told you it was super simple!

Wednesday, July 3, 2013

Day of the Dead Sugar Skulls

I love the look and thought behind Day of the Dead (Dia de Muertos). This celebration occurs on November 1 and 2 in connection with the Catholic holidays of All Saint's and All Soul's Days.  The holiday focuses on gatherings of family and friends to pray for and honor friends and family members who have passed.

I grew up in Southern California and was influenced by the beauty of Mexican culture. During my visit there last year I was inspired by my trip to Olvera Street by all the beauty and colorfulness of the sugar skulls. Since this is my summer of reusing and repurposing (and cleaning out old stuff), I uncovered some long forgotten masks in my basement. These African masks were left over from previous décor from another house.

Armed with white spray paint and temporary tattoos from Michael's, I transformed those old masks into something new and updated (for me anyway). Sorry, I can't find my before pictures. The original masks were all brown or grey. I didn't do anything to them structurally, just went wild with the spray paint.

These are the tattoos I got from Michael's. They were about $2.50 per pack. I just mixed and matched to create my own designs.


Here they all are hanging on the wall of my craft room. I just love them!  Sorry for the quality of the photo. It's not the best but you get the idea. After I put on the tattoos (the same way you would on your skin - with water), I let them dry well. Then I sprayed with several light coats of acrylic to make sure they will stay on.
 
Another Super Simple craft!  And I get to reuse and repurpose something I would have otherwise donated. I'm on a mission to decorate my craft room in a cool and eclectic style of things that bring me joy. I think I am on my way!
 
And if you don't have any masks hanging around your house, look at thrift shops and yard sales. Once you decide what you are looking for, you'll be surprised how things will jump out at you!
 
Happy Crafting!


Sunday, June 23, 2013

Crock Pot Corn on the Cob

As anyone who know me knows, I use the crockpot to cook every and anything. We had a family cookout yesterday evening and I had four of the grandkids who were eager to go swimming at the neighbor's pool so I got creative in my food prep. Crock pot corn on the cob!  A super simple, make it and forget it recipe. Here's how it is done:

8 ears of corn (shucked and cleaned)
1/2 a stick of butter
1 teaspoon garlic salt
1/2 teaspoon garlic powder
1/2 teaspoon Italian seasoning
(You can also add 1/2 teaspoon of chili powder, which I LOVE but thought the grandkids would be less than pleased so I omitted it).

Melt the butter, add in the seasonings. Lay each ear of corn on a piece of tinfoil that will cover the ear completely. Add a few teaspoons of butter mixture to each ear. Wrap and seal the foil tightly.

Lay all the corn into the crockpot. I got all mine in one crockpot because I cut some of them in half for the younger kids.  DO NOT ADD WATER!

Cook for 2.5 hours on high or 4 on low. I used my hottest crockpots (I did two batches). After 2.5 hours on high, I turned it on the "Keep Warm" setting for a couple hours before serving.

The corn was fantastic! Tender and yummy!  This may be my new favorite way to do corn. Try it, you will love it!

Monday, June 17, 2013

More Barbie Head Planters

Earlier in the summer I posted the how to for Barbie Head Planters. I so loved the project that I've been on a mission to collect more Barbie Heads and give them new life.  I've been really fortunate to find these at yard sales for about .50 apiece.  Here's the before picture of "the girls". As you can see, their hair was a little worse for wear!


All I did was get out the handy dandy razor cutter and trimmed very close to the hair line. (Tip: start at the back of the neck. That way you can get a feel for the task and, by the time you get to the forehead, you should feel pretty comfortable with the cutting.  Just take your time.

After removing the hair, smooth with fine grade sandpaper, wash off the plastic dust, and spray paint. I am still in love with Rustoleum's Hammered Finish in Rosemary.  It gives it such a neat look and the texture hides any imperfections.  Here's the finished girls, planted and already growing some new hair!


And here's the group:
 
 
Aren't they adorable!  As you can see, I have a few extra spaces to fill. Hmmm, I better get out there and find some more Barbies that need a new life!
 

Monday, May 6, 2013

Succulent Wreath How To

6/17 UPDATE:  I've had the succulent wreath laying flat on the patio table for weeks now. This was done to give the plants a chance to develop roots and latch on to the moss.  This week I finally hung it up. I LOVE the way it turned out!


Even though some of the plants started to root, I reinforced their latching by wrapping the entire thing with floral tape. As this close up shows, the tape isn't noticeable but it really does keep the cuttings in place.


For several months I've seen beautiful succulent wreaths online. It was one of those things that looked pretty easy to do but things are not always as they seem. Thankfully, this was another super simple craft that just took a bit of time to complete.

You will need the following supplies:
  • Sphagnum moss
  • Wire wreath (I used 12" but they have all different sizes)
  • Fishing wire
  • Floral pins
  • Roottone
  • Succulent soil
  • Variety of succulent pieces


Here is the how to.  First, gather up a bunch of various succulents.  Unfortunately, I don't live in an area where there are a lot of succulents growing wild right now (it is early spring). This would be really easy and cost efficient if you live in a place that has succulents growing in park and planters. I had some (the long skinny ones) but bought the others. 
 
You need to take snippets of the succulents and let them dry out for a few days before planting. They need to scab over before planting, so make a pile of them and just let them site on a tray to dry out for a few days.
 

You will need a bag of sphagnum moss.  For this 12" wreath I used about half of a bag.  Soak the moss in a bucket for at least half an hour.  You want it to be completely soaked.  You also need a wire wreath frame. I got mine at Joann Fabrics for less than $5. 

Below are the scabbed over succulents, floral pins and Rootone to give the plants a little booster to develop their roots. (It is a great product if you haven't ever used it).

 
You start by laying down the soaked moss on the wreath frame. Lay it down and wrap it in place with fishing line. I recommend fishing line over plastic thread because I think the fishing line is stronger and will hold up better. Don't over stuff this first layer of moss because you will be putting a layer of cactus soil and top again with another layer of moss.  It's like a soil sandwich!


Here is the final wrapped wreath. This was pretty easy to do but it was really messy!  Sometimes you have to get messy to make beauty!

Now you dip the tips of the succulents into water first and then the Roottone. Use the floral pins to keep the pieces in place on the wreath.

I started by placing the long skinny snippets because that is what I had the most of. I was concerned that I wouldn't have enough of the pretty flowerlike pieces. (Sorry, I'm not up on the names of succulents. I just know what I like and what is pretty).  Make sure you don't overstuff the wreath. Succulents will grow once they take root. I chose to use put them close together but left plenty of room for growth. 

The instructions I found said to keep the wreath horizontal for about 6 weeks so they clippings can take hold and grow roots. For now, it will sit on my outdoor table as a decoration. 


What I also like about this project is that succulents don't require a lot of water so maintenance of this should be relatively easy. It will only need watered once a month (by submerging into water for 10 minutes; I'm thinking this would be easy to do using a kiddie pool).

Also, any of the succulent pieces that fall off, you can just stick in the ground and they will eventually grow. I put mine in the planters on my shed, which seems like a perfect place for them. These planters are rain protected because of the roof overhang. This way I don't have to remember to water them but once a month.


 I will post additional pictures later in the summer when the wreath fills in.  I think it is pretty and yet another Super Simple craft.

If you have any questions on the how to, please let me know. Happy to share and/or clarify.

Happy Crafting!


Floor Lamp Planter

The following was created because of an inspiration someone posted on Facebook. (Thanks Debbie)!  A super simple and cute idea that incorporates some of my favorite things: Upcycling and planting.


I had this old floor lamp that I wasn't using anymore. I got the black basket at the Dollar Store and used Gorilla Glue to secure it.  Once that dried, I placed the coco mat inside (cut to fit). I then put some sphagnum moss and dirt in, followed by plants. I used chenille plant and I'm not sure what else the others are called. I chose these plants because I thought the combination will give both height and will droop over the sides as the plants grow.


To top it off, I put this sweet solar motioned piggy that I got from Chinatown L.A.  What a perfect home for him!


Isn't he cute?!
 
Another super simple project.  My recommendation is to not overfill the planter. This will grow all summer so you want to make sure the plants have room to grow. I will update this post later in the summer after it fills out.

Sunday, April 28, 2013

Spring Planting

Hi All!

First, my apologies for not creating any new posts for a very long time. Life (and making a living) got in the way and my craftiness really got put on the back burner.  Now that school is over for the summer, I am hoping to spend a summer crafting and repurposing (and posting).

It is finally springtime here in the Mid Atlantic; I am inspired.  I stumbled upon this adorable head planter at Rite Aide of all places!  Best of all, it was 50% off so it only cost me $10.  Isn't he cute?

I went back today for another one but they were sold out (no suprise there).  So I decided to get creative and make my own.

I looked around the house to see if I could repurpose something.  I found this doll bust that had hair to style. I got this for Jasmine a few years ago and think she played with it once or twice.

While she is sweet, I knew there was a better place for her than being stuck in the cupboard under the bathroom sink.  I figured no one would miss her so I got out the exacto knife and went to work.

This was very easy to do. I started at the back of her head and cut the plastic close to her hair line.  I wanted to keep as much of the plastic head as possible so it would be big enough to hold a plant. The plastic was soft (plastic doll baby soft) so it didn't splinter or break.

Because she is plastic, I started with a primer to make sure and cover the bright pink of her shirt.  I let that dry a bit and the sprayed with Rustolium Rosemary Hammered spray paint. (Now that I'm looking at the can it says it is paint and primer combined so maybe I didn't need the primer afterall.

While the paint didn't adhere like I originally planned (some streaked and ran) I love the way she turned out. It is also about to rain and was pretty windy so that may also have contributed to her mottled look.  That said, I think the imperfections make her look weathered and antique.  I plan to spray her again when the weather is better and will also spray her with a sealant. 

 I just stuck in this chenille plant to see what she will look like with "hair". I think I will put some succulents because they grow slow and are super simple to take care of. 

There's something about her that reminds me of the Bird girl of Savannah.  Something sweet and wistful. 

So now I have yet another thing to keep an eye out for while yard saling! Here's hoping I have a cool collection of them by the end of summer.  And if I plant succulents in them, they will just lay dormant during the winter and come back to life again in the spring.

I hope you like my first post in months. I've got some other projects that I have in mind to work on. Again, thanks for stopping by to visit. 

Happy Crafting!

Sunday, August 12, 2012

Craft A Week #33 Upcycled Table

I was highly motivated today and got my craft on! I had an old table that's been collecting dust in my garage for a few years and decided to repaint and repurpose it. I have my granddaughter Jasmine with me this summer and she loves to play on the computer. I have two laptops but I really wanted her to have a designated computer area. As part of my effort to have my new living room comprised of crafty things, I decided to transform the table.

Here's what it looked like before:


(That's Natalie cleaning the underside of the table)!

Then we spray painted the heck out of it!


It took almost two entire cans of paint.

I liked this color but wanted to try a different technique to finish it.  A few weeks ago I found a lace shirt at The Salvation Army for $1.50.  I deconstructed the shirt so it could be layed flat on the table.


I had one good size piece (the back) and several smaller (the breast pieces and sleeves).  I then layed them out on the table and lightly spray painted a butter yellow over them.


Because of their odd sizes, I had to lay the pieces so try and cover as much as possible in one spray. I only did one light coat of paint because I really wanted it to be subtle.


As you can see, this technique gave a real vintage look to the table.  Here's a close-up:


Isn't it pretty? I love this look. 

I finished off the table with a few spray coats of shellac to protect it. 

This was a Super Simple craft! From start to finish it took me less than 2 hours. If I do this again I will use one solid piece of lace rather than the pieces. It would give it a much cleaner look, sort of like a lace tablecloth effect.

Here is the table in it's new home:


I love this table because it has leaves in it. When Jas is not playing on the computer, the table can just hold the printer and monitor.  But the leaf flips up to create an added workspace.


And finally, here's Jasmine and Natalie putting the table to good use!


They were very proud of their accomplishment! (They helped spray paint). I love showing a new generation about repurposing!

Happy Crafting!